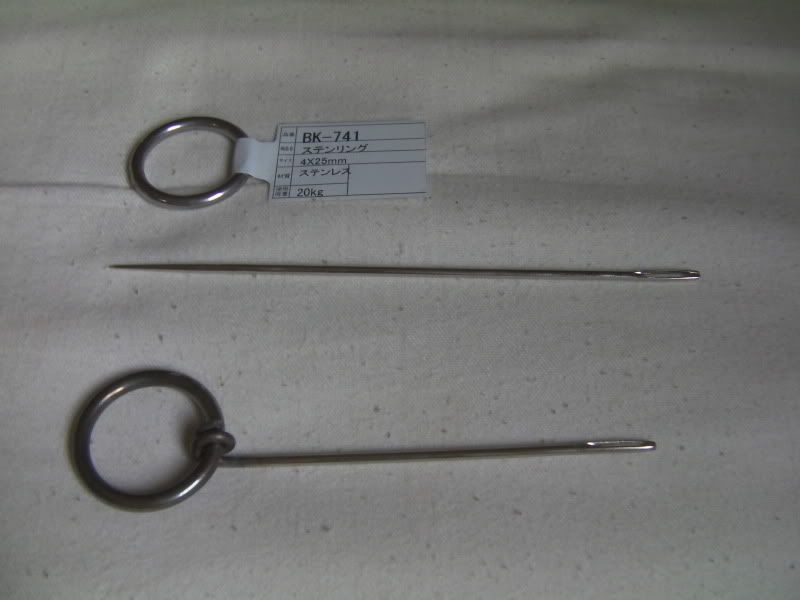
It's basically a long needle with a large eye that I heated up with a blow-torch-in-a-can from the DIY store, a pair of pliers and my vice. Bent the needle around the ring, cut off the point - voila! Took about 10 minutes and works great!
Splicing is too easy!
A simple splice can be locked down by stitching it with a sewing machine, looking all very professional, as you can see at the FS Splicing Manual

... or with slightly less machinery as suggested by these guys.

Then there's the Zacher knot; needs no stitching with pesky waterproof thread but is a bit ugly. Found on the Storm Riders page - now via edt :)

My suggestion for the perfect locking splice without sewing it is the Brummell which I discovered at New England Ropes website.


Tips I learnt along the way ...
Flatten the end you're going to thread through the tool a little then cut at a sharp angle - aim to cut off about 10mm. Be very careful not to allow it to unravel too much past that 10mm.
When finishing the splice, cut the bitter end off just like above, then pull it into the spliced line - if you cut it square, it doesn't taper off smoothly.
Pull slowly and work the tool gently with your fingers.
Be careful not to allow the tool to pop out - you may lose the end of your splice up in there. Annoyance turned up to 11.
Stitching, done by hand, is very tough to make look tight, clean and professional. Especially when the thread is a different colour to the spliced line.
New England Ropes has this version of the Lock Stitch, which is a simple Brummell but does NOT lock the line very well and looks ugly.
Don't use a half-hitch on the Zacher, as suggested on that page - it ends up bulkier than an overhand knot.
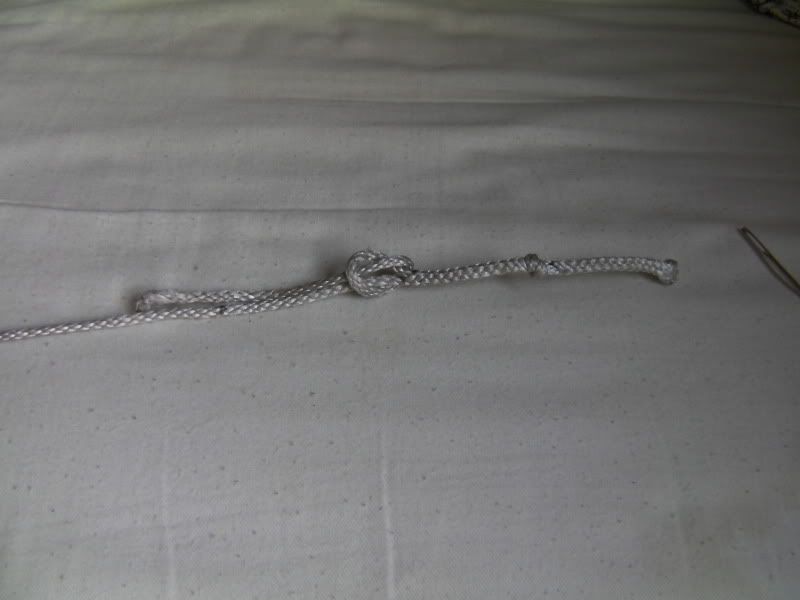
The trick with the Brummell is that you have to invert one of the loops, actually poke it back through the other way. IIRC it's knot B on the webpage diagrams; use the tool again to encourage it back through. You have to go through the line that goes through the other ... sounds very Mobius strip but look at figure 11 up there and this pic ...
The Brummell is by far the best method IMHO cos there's no sewing with sharp needles and it locks the splice onto itself very thoroughly. And it's almost invisible ...
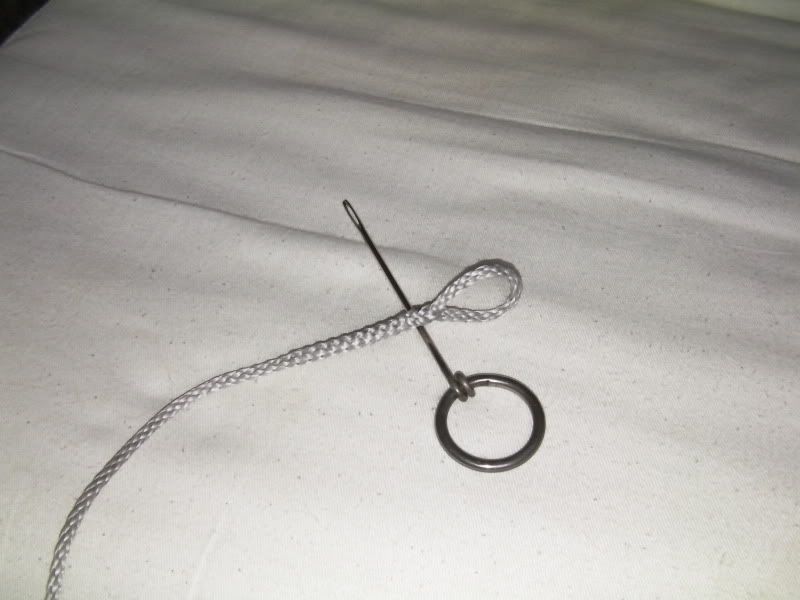
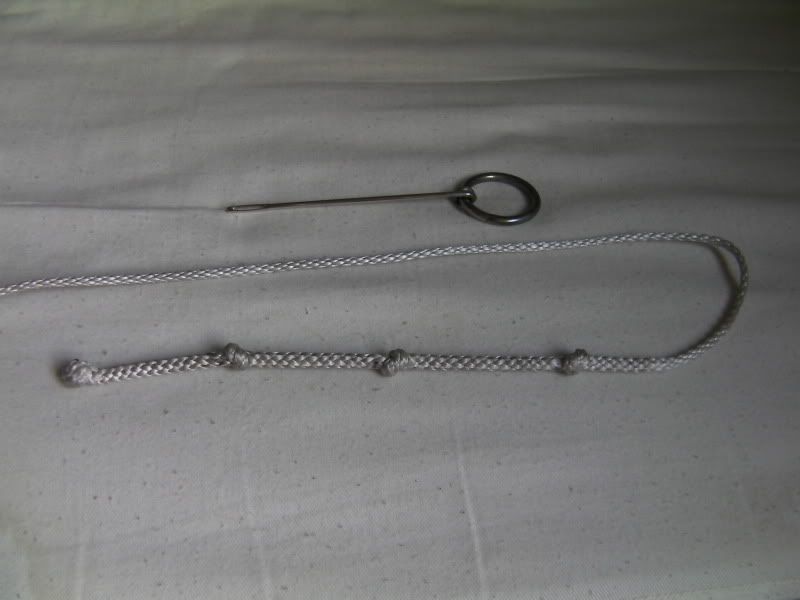
The tool is lying where the Brummell lock is ... you almost can't see it, just looks like a prefect smooth splice!
Size of the loop is the distance between A and B ...
What can I splice now? Ah ... here, kitty kitty - such a nice tail you got ...
No comments:
Post a Comment