Thought I could add the Switch QR/CL to the PL Navigator bars ... a mixed bag of results. Here's why ...
• The QR/CL uses the same double depower rope and safety through the center - that all works fine, plugs'n'plays no worries.
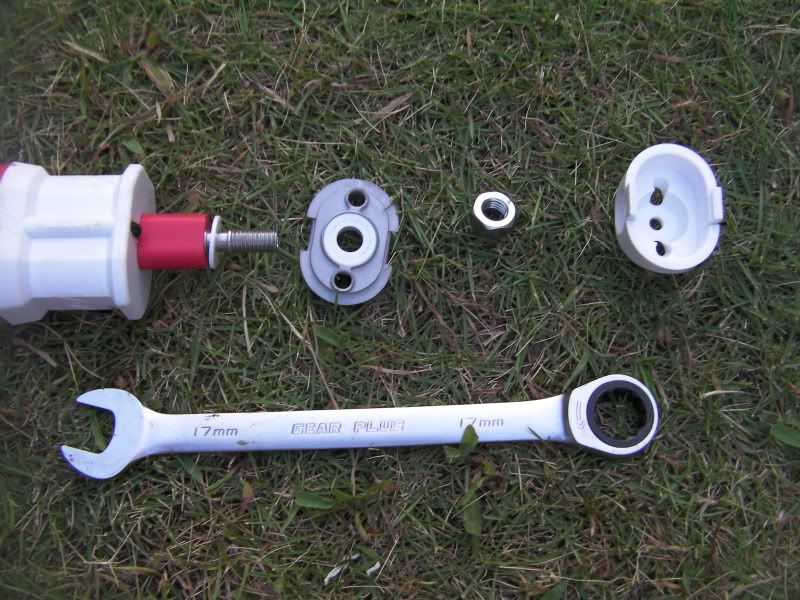
• The PL CL has a larger diameter hole (7 or 8mm versus 5mm) through the body to cope with the heat-shrink that covers the line where the thicker safety joins the thinner safety - that gets stuck at the hole to the Switch QR body. I cut the heat-shrink off and it glides through fine ... the stitching could probably be improved with some whipping if necessary. I tried to drill the hole out - I got it out to 5.5mm but then my drill bits were melting and the tube was deforming :o
• Solution to the hole problem : drill it out (meh) or replace the entire safety line with the 3mm Amsteel. Which makes me wonder why they didn't do that in the first place ...? The only issue I see of NOT drilling it out, is if you go for a shortened V setup - it may not get through easy :(
http://switchkites.com/warehouse_comp/product_info.php?cPath=28&products_id=67
Oh I've just noticed that they've dropped the Complete QR from their parts page ... so basically, all this is moot. Sucky.
EDIT : back up. Great!
I'll try the whole thing out on a light wind day, anyway. So there you have it. And here are the pics ...
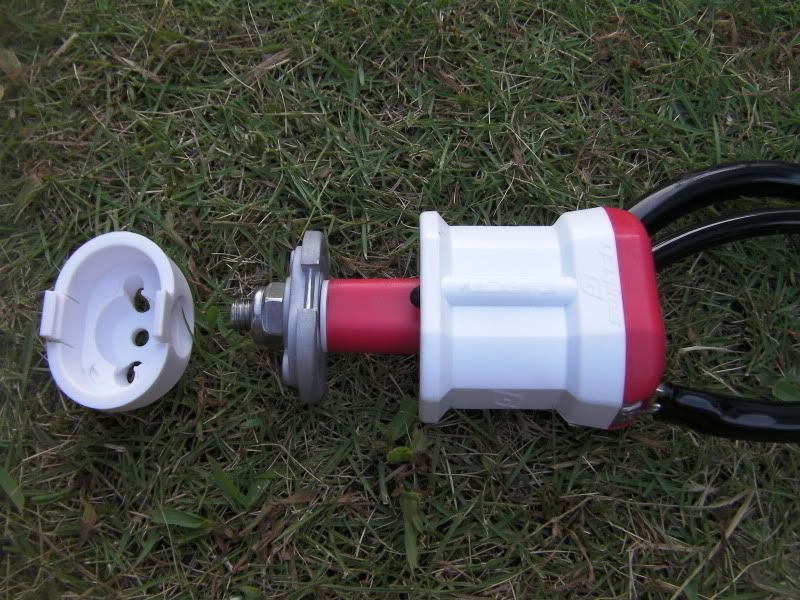
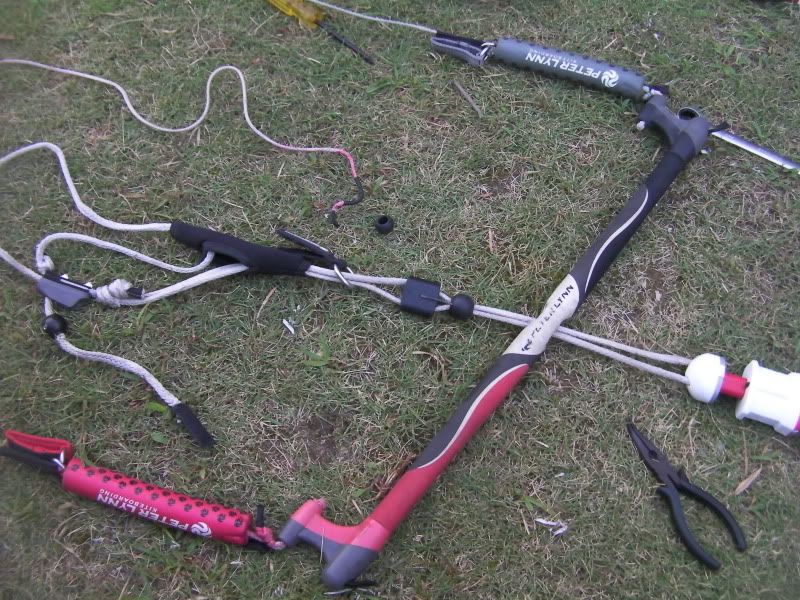
Switch QR/CL
Peter Lynn Navigator QR/CL

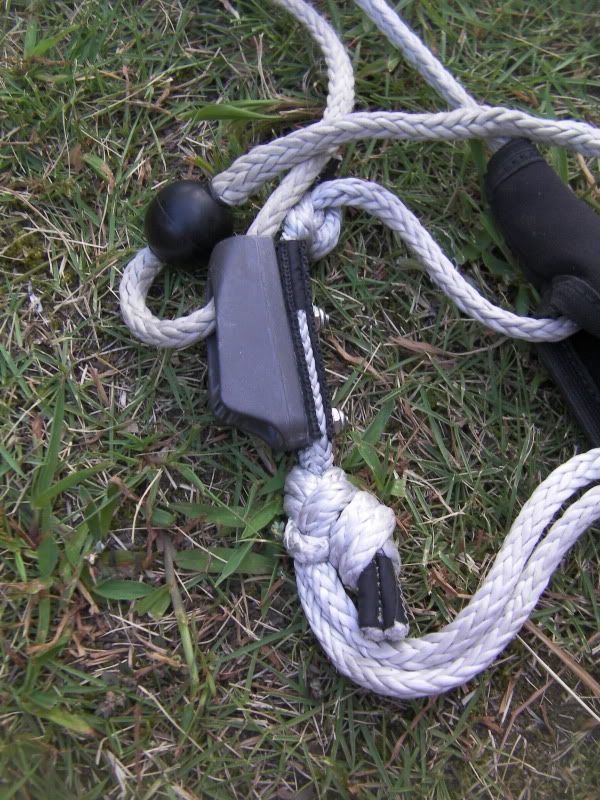
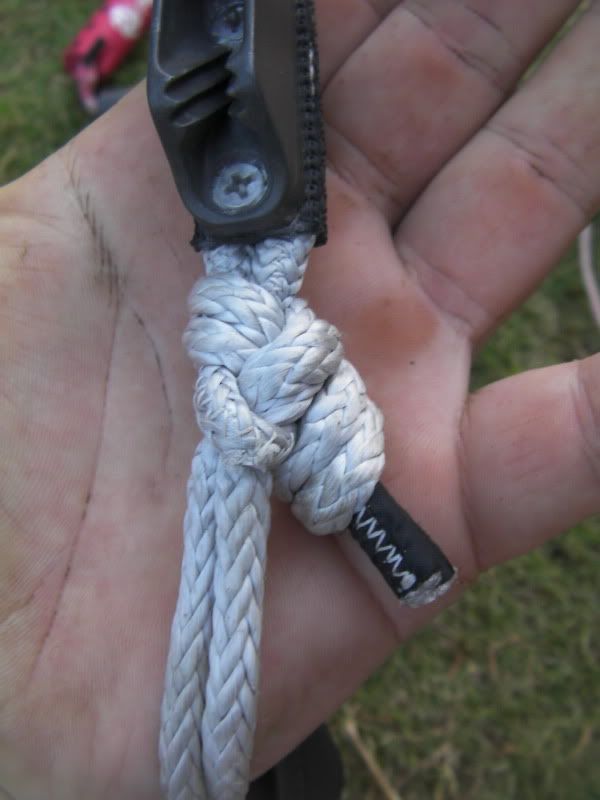
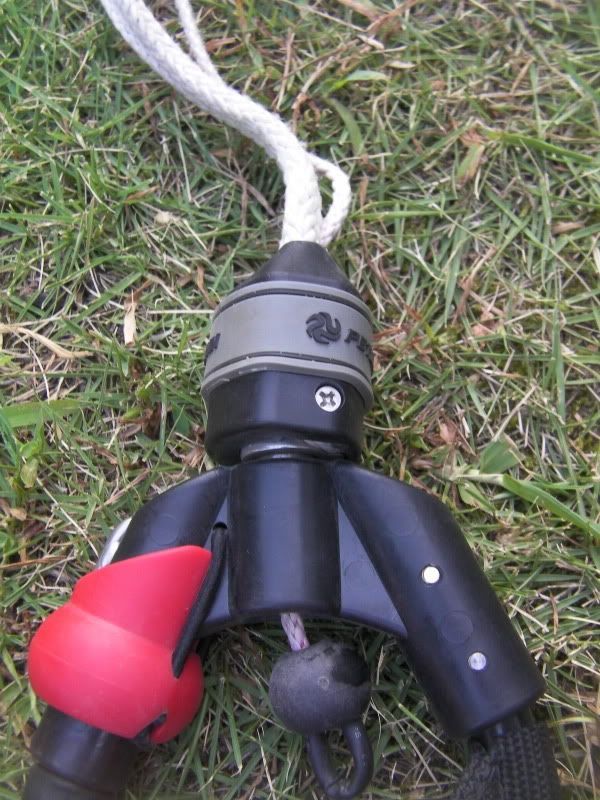
The tricky bits ... pull the cam cleat out of the sock, note that the depower line is finished with a square-knot and sheep-shanked to the cleat and that the stopper ball is knotted with a bow-line. Easy o_0
Then undo the square-knot and feed it all out.
Then undo the square-knot and feed it all out.
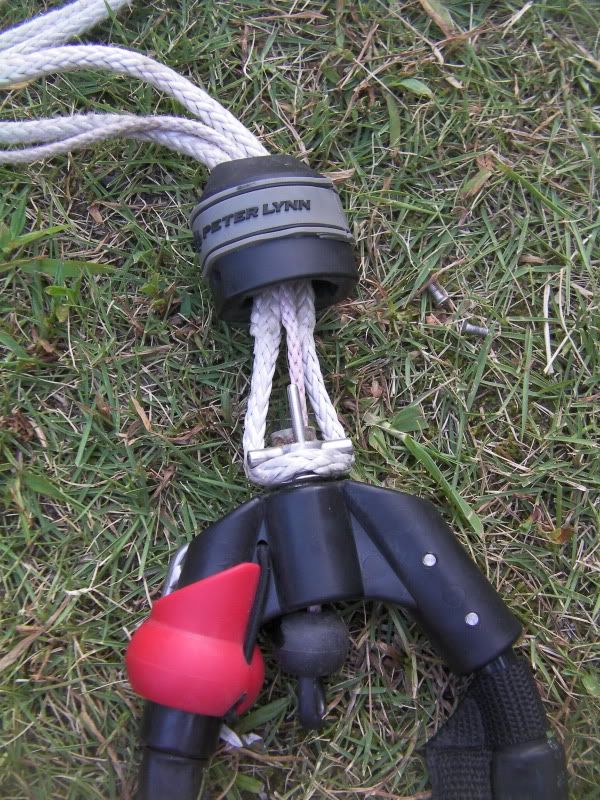
Loop the depower line around the swivel in the Switch QR/CL then reassemble. Note the order. And note that the stopping slider block in default configuration has the holes closer together at the bar end ... make sure to get the square-knot and sheep-shank tight and compact.
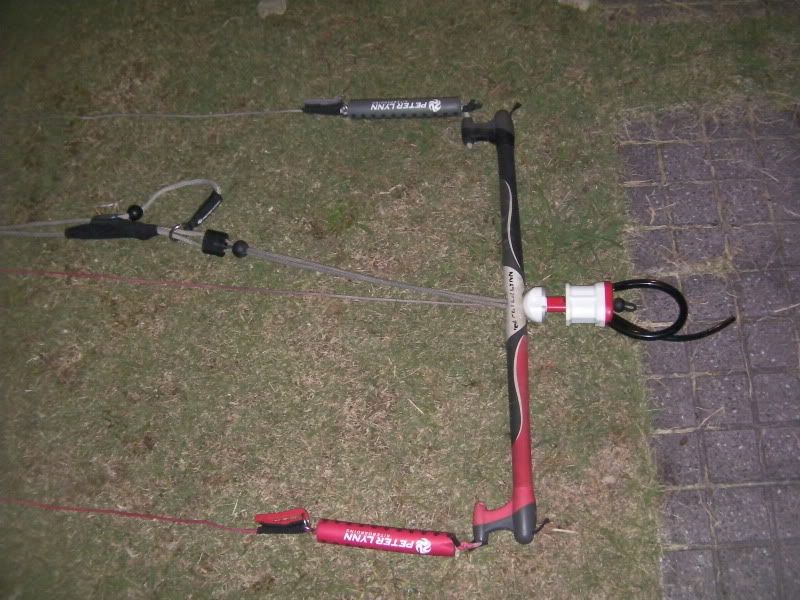
Finished!
UPDATE
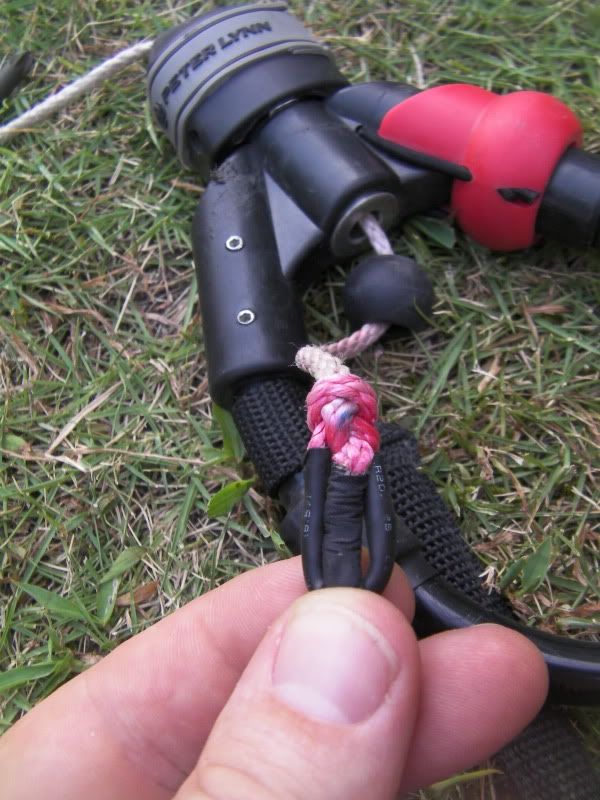
After a bout of paranoia, I went back to the PL chicken loop - the hole through the Switch QR just wasn't big enough and required removal of the heat shrink covering the stitched loops of the safety line to fit through. Which got me worried about wear on the ends ... I should probably find a way to nicely splice them into each other.
In the interim, I've decided that I need to either drill the hole out PROPERLY with a drill press and some lube before I attempt it again.
Also, I've realized that the somewhat bulky and messy (IMHO) cam cleat could be replaced with the Switch "Regulator" and offer adjustable depower throw and trim range :D
... a project for the coming winter ;)
No comments:
Post a Comment